> ## Documentation Index
> Fetch the complete documentation index at: https://docs2.zenskar.com/llms.txt
> Use this file to discover all available pages before exploring further.
# Customer
## Overview
To automate your billing process, you must add your customers' details to Zenskar.
There are three ways to add a customer in Zenskar:
1. Manually
1. 👨🔧 [Add customers manually, one at a time](https://docs.zenskar.com/docs/customers#add-customers-manually-one-at-a-time)
2. 🗈 [Add customer(s) by uploading a CSV](https://docs.zenskar.com/docs/customers#add-customers-by-uploading-a-zenskar-compatible-csv)
2. 🌐 [Zenskar APIs](https://docs.zenskar.com/reference/create-customer)
3. 🔌 [Connectors](https://www.zenskar.com/docs/introduction-to-zenskar#-third-party-software-integrations)
***
## ⚙️ Add a customer
### Add customers manually, one at a time
1. Navigate to the **Customers** page, and click on the **ADD CUSTOMER** button.

2. Fill all the necessary details in the **Add Customer** form.
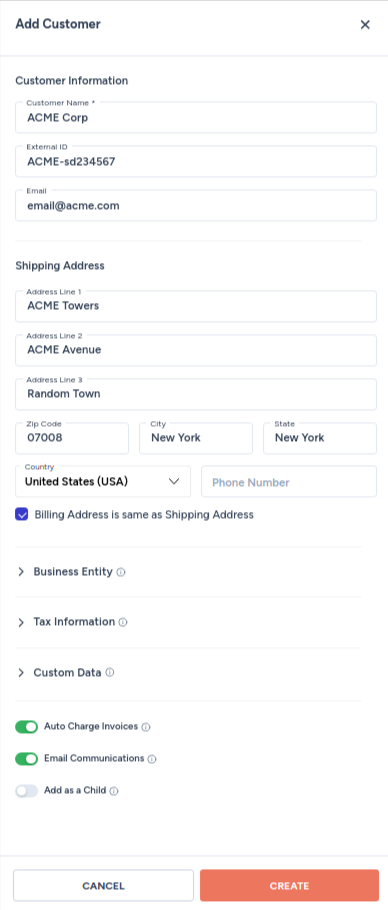
#### Customer information
| Field | Description |
| :---------- | :--------------------------------------------------------------------------------------------------------------------------------------------- |
| Name | Full name of the customer |
| Customer ID | Unique ID assigned to the customer: this could be the ID assigned in the system from where the customer details are being imported (eg., CRM). |
| Email | Email address of the user. |
#### Shipping address
You must fill in the complete address, zip code, city, state, country, and phone number.
> 🚧 Important
>
> Ensure that the customer details entered in these fields are exactly the same as the details in the other systems from where they are being imported.
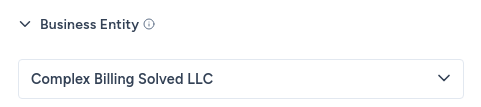
#### Business entity
Associate a [business entity](https://docs.zenskar.com/docs/business-entities) with the customer.

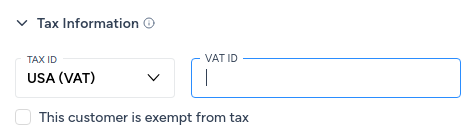
#### Tax information
Manage tax-related data such as tax codes, exemptions, and rates for proper tax calculation and compliance with local tax laws. Add goods and services tax (GST) and value-added tax (VAT) related IDs applicable to the customers in the following jurisdictions:
| | |
| :------------- | :-------- |
| India | IND (GST) |
| USA | USA (VAT) |
| Australia | AUS (GST) |
| European Union | EU (VAT) |
| Singapore | SG (VAT) |
| France | FR (VAT) |
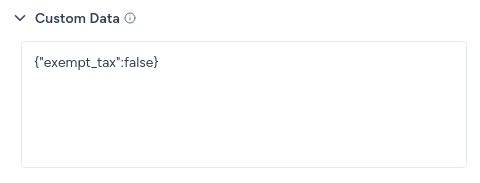
#### Custom data
You can add custom [JSON](https://www.json.org/json-en.html) data. Custom data is additional customer metadata which can be used when creating custom aggregate queries.
For example, if one of your customers, the fictitious ACME corporation, has multiple users signed up for your product, you can generate a single bill for the multiple users and assign it to the company.
```json theme={null}
{
"users": [
"john.doe@acme.com",
"jane.doe@acme.com"
]
}
```
For another example, if you want to store information about a customer's preferred method of communication and their time zone, you could do the following:
```json theme={null}
{
"additional_info":
{
"preferred_communication": "email", "timezone": "PST"
}
}
```
You can exempt a customer from taxation by adding the following JSON:
```json theme={null}
{
"exempt_tax":true
}
```
#### Auto charge invoices
Allow customers to configure payment settings, such as auto-charge options, for convenient and automated payment processing.

> 🚧 Note
>
> You must have a fully-configured and functioning payment gateway.
#### Email communications
Enabling this setting will let your [senders](https://www.zenskar.com/docs/senders) send emails to your customers.

### Add customer(s) by uploading a Zenskar-compatible CSV
You can add a single customer or customers in bulk by uploading a Zenskar-compatible CSV file.
1. Navigate to the **Customers** page, and click on the down arrow present on the **+ ADD CUSTOMER** button.
2. Click on the **Upload CSV** button.
3. The **Upload CSV** dialog pops up.
4. Use the **Click to upload or drag and drop** card to upload the CSV file containing your customers' data.
> 🚧 Note
>
> The CSV has to be in a [Zenskar-compatible format](https://www.zenskar.com/docs/customers#sample-csv-file).
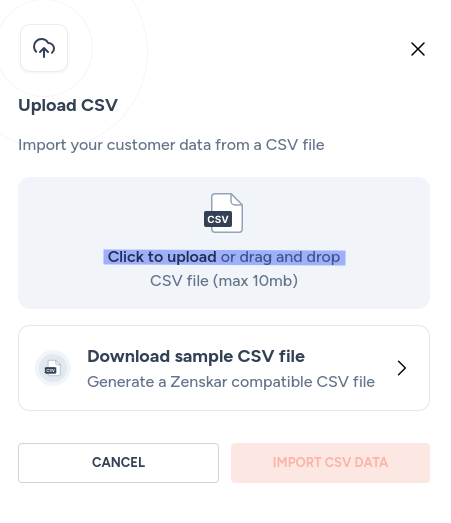
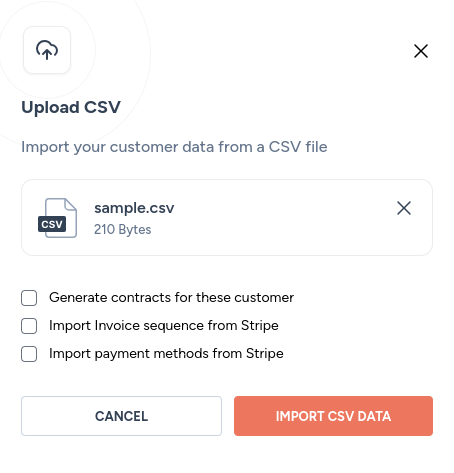
5. Click on the **IMPORT CSV DATA** button to add your customers' data to Zenskar.
#### Sample CSV file
* You can download a sample Zenskar-compatible CSV file by clicking the **Download sample CSV file** card on the **Upload CSV** dialog.
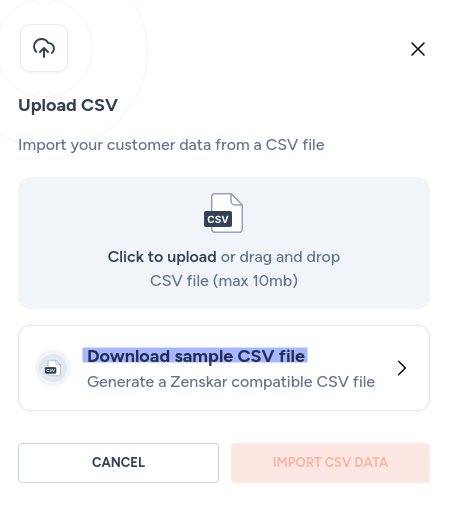
* You can add your customers' data to this CSV file.

> 🚧 Note
>
> Remember to remove the example **John Doe** user from the sample CSV before adding your data.
### Add a customer using the Zenskar APIs
You can add your customers' details to Zenskar using the [create customer REST API](https://docs.zenskar.com/update/reference/create-customer).
### Add a customer using Zesnkar connectors
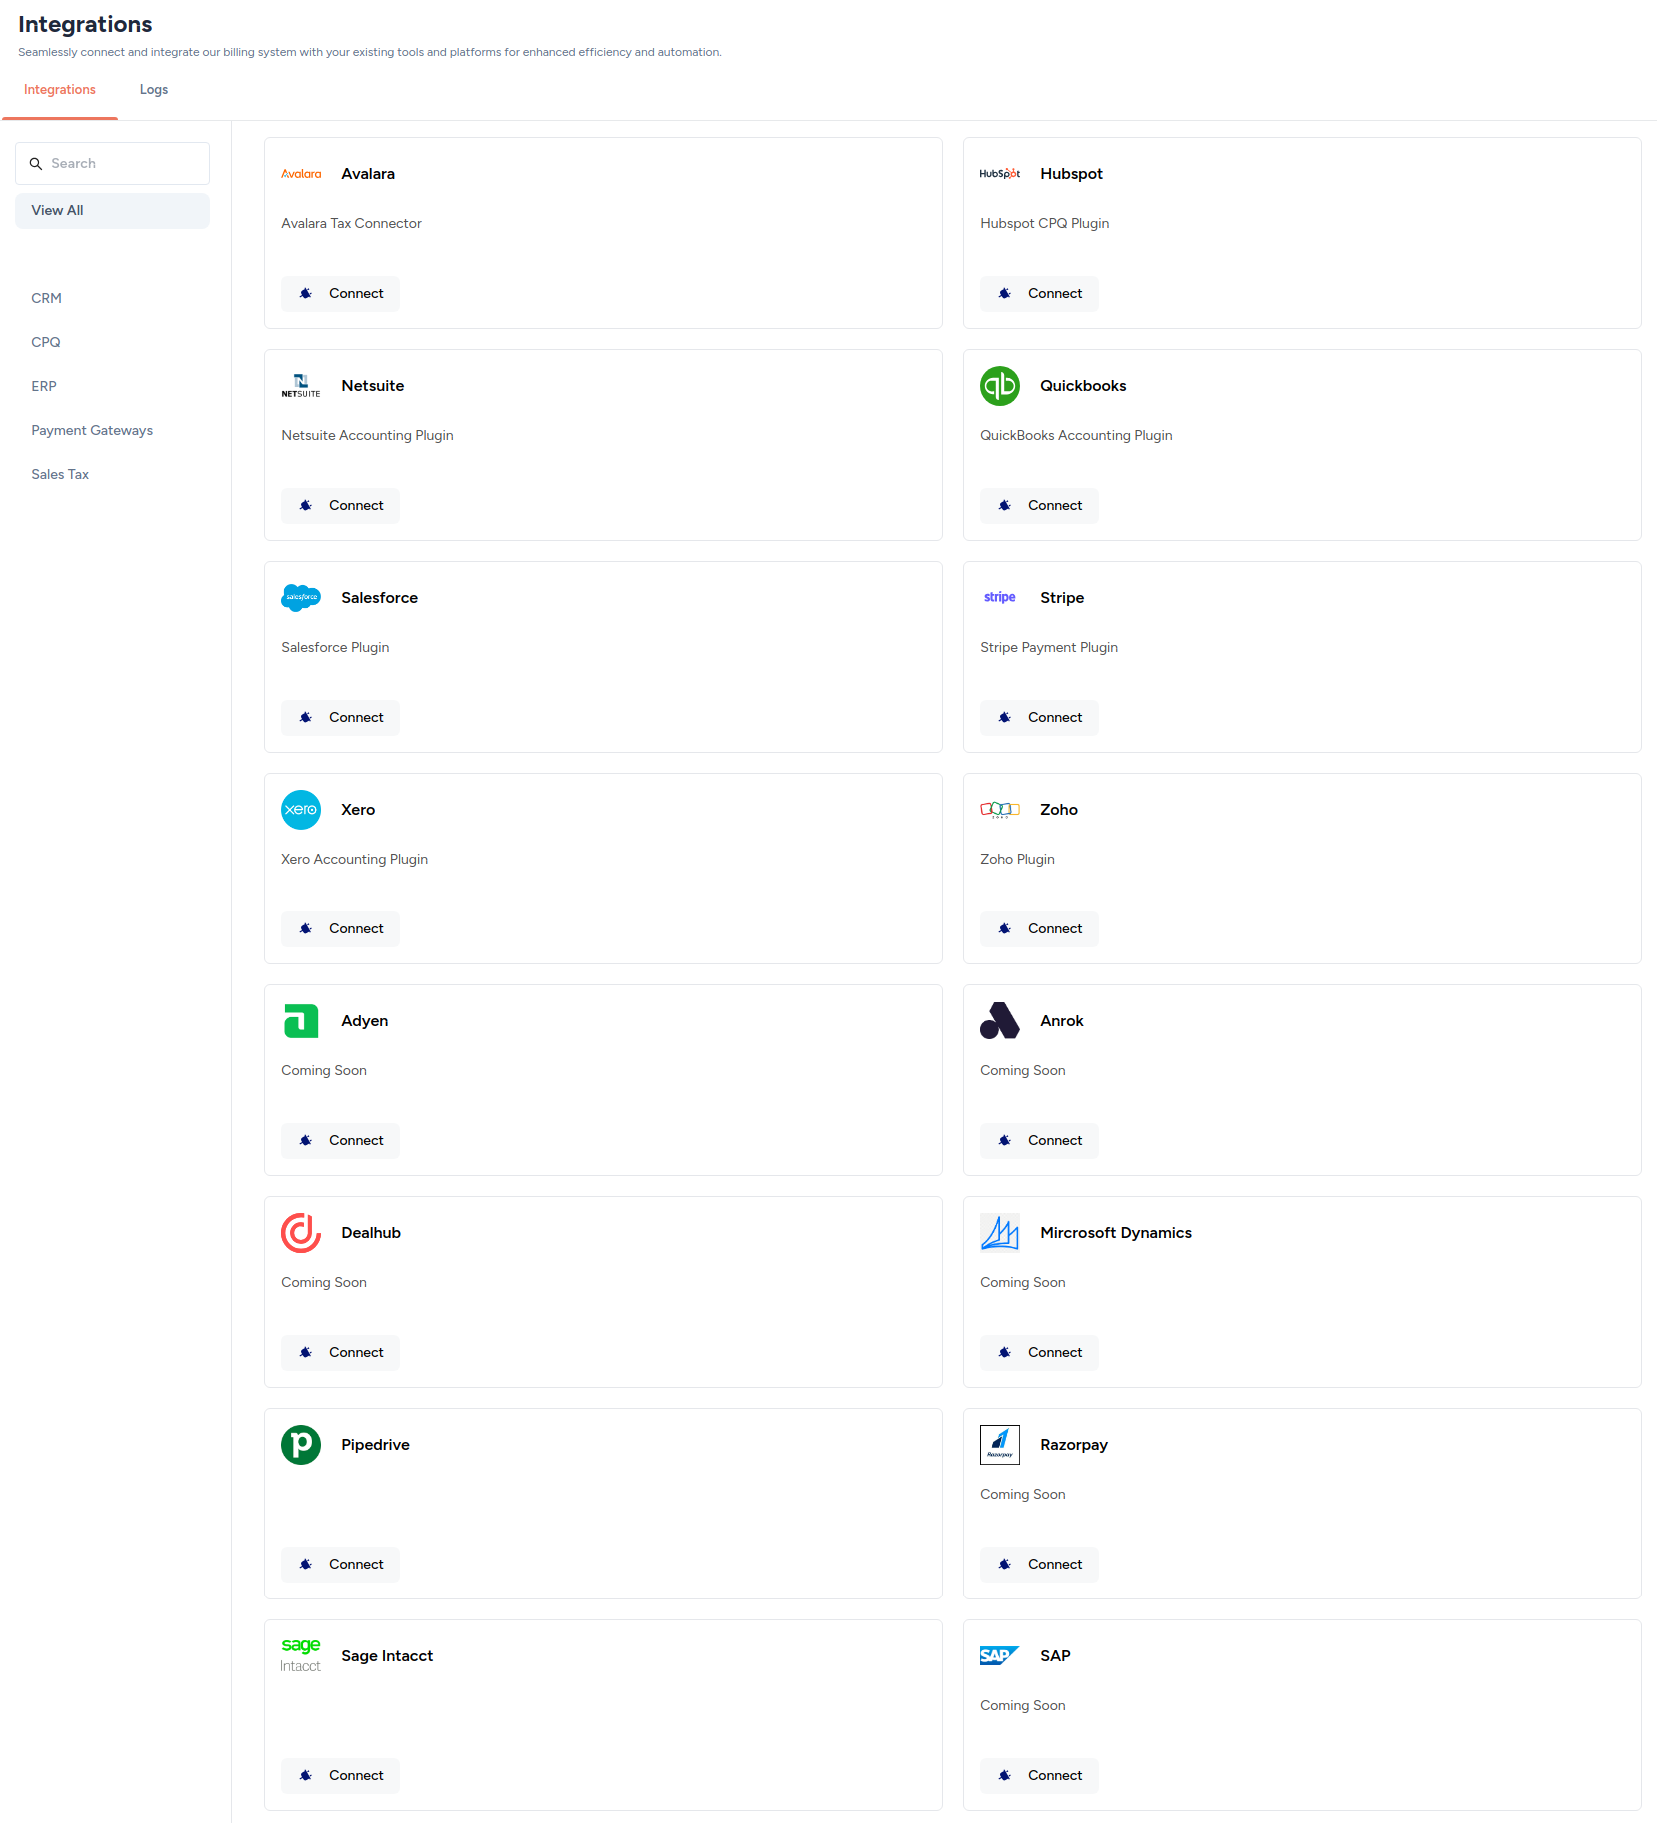
Zenskar's [third-party integrations](https://www.zenskar.com/docs/introduction-to-zenskar#-third-party-software-integrations) will help you perform two-way sync of your customers' data. Zenskar provides **connectors** for many well-known CRM, CPQ, and ERP software systems.
1. Navigate to **Integrations**to view the list of connectors available. Follow the [third-party-specific documentation](https://www.zenskar.com/docs/introduction-to-zenskar#-third-party-software-integrations) to establish a connection.
### Did not find the connector you were looking for?
Contact [help@zenskar.com](mailto:help@zenskar.com) to raise a request for a new connector.
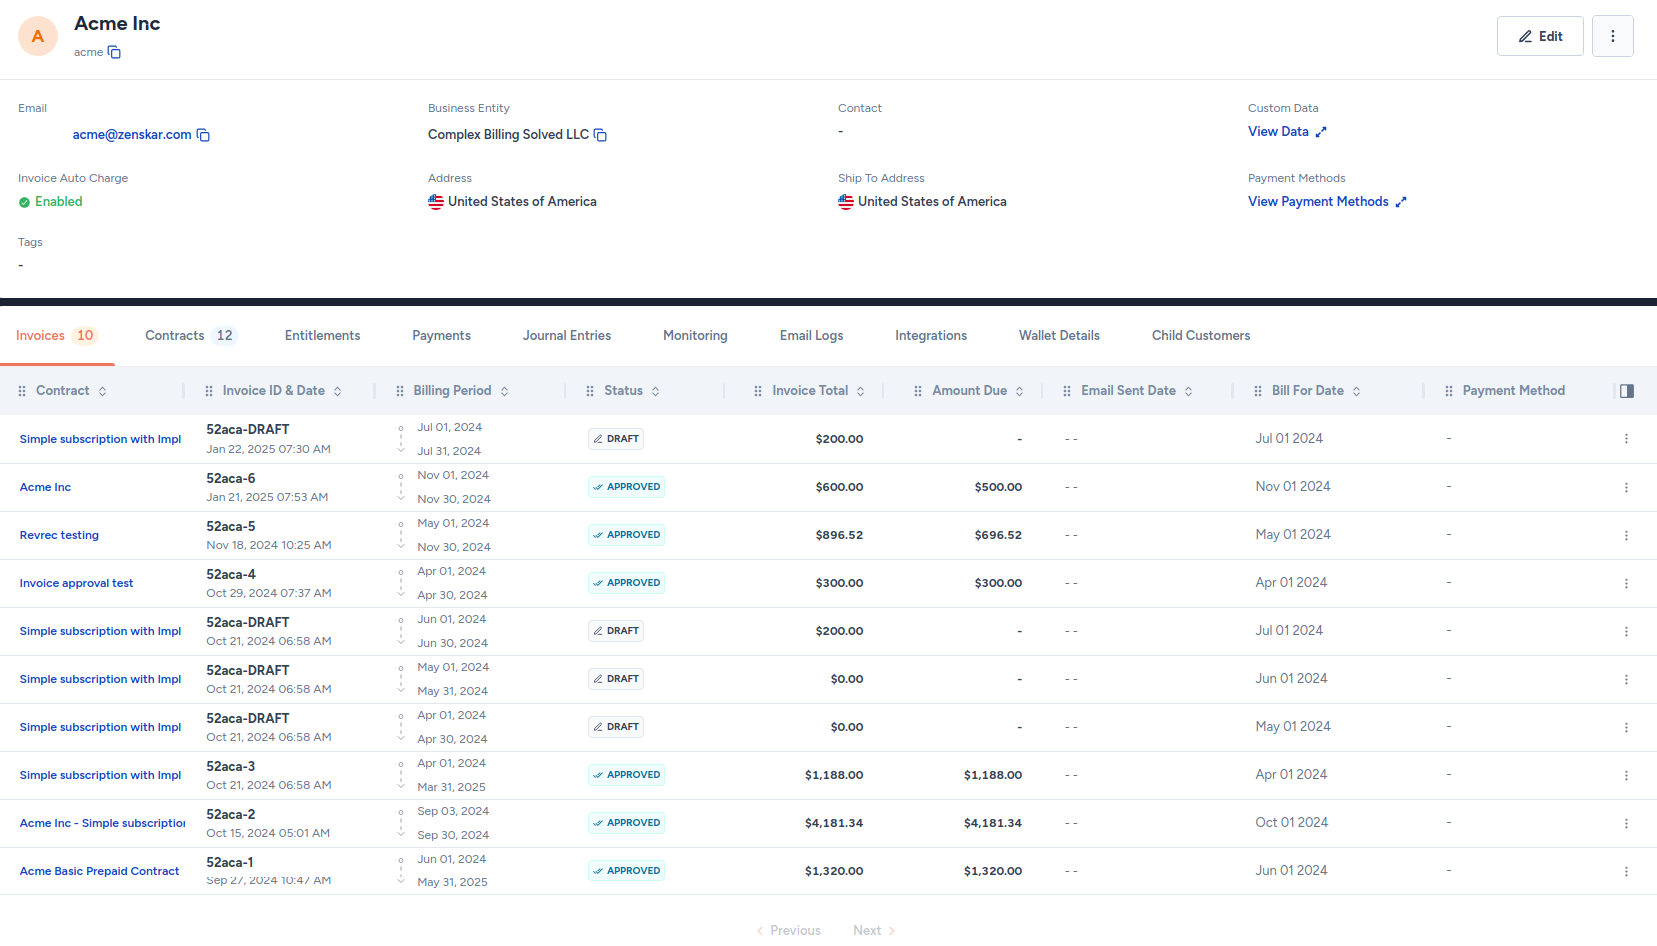
## 🔍 View customer details
1. Navigate to **Customers** in the left side panel.
2. Click on the row containing the customer you are interested in.
3. On the **View Customer**page, you can view details such as [invoices](https://www.zenskar.com/docs/invoices-explainer), [contracts](https://www.zenskar.com/docs/contracts), [entitlements](https://www.zenskar.com/docs/entitlements), payments, journal entries, monitoring, email logs, integrations, wallet details, and child customers.
### View and add secondary contacts
### Definition
You manage multiple contacts associated with a customer as **secondary contacts**. You can choose what type of communication is sent to each secondary contact.
1. Navigate to **Customers** in the left side panel.
2. Click on the row containing the customer you are interested in.
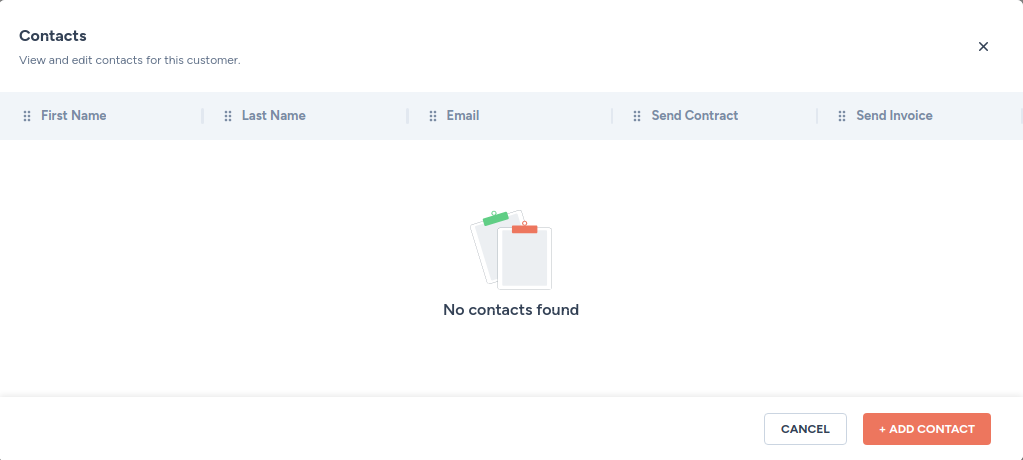
3. On the **View Customer**page, click on the kebab menu located beside the **Edit** button to reveal the **Manage Secondary Contacts** menu option, as shown below.

4. On the **Manage Secondary Contacts** form, click on the **+ ADD CONTACT** button to add a new secondary contact.
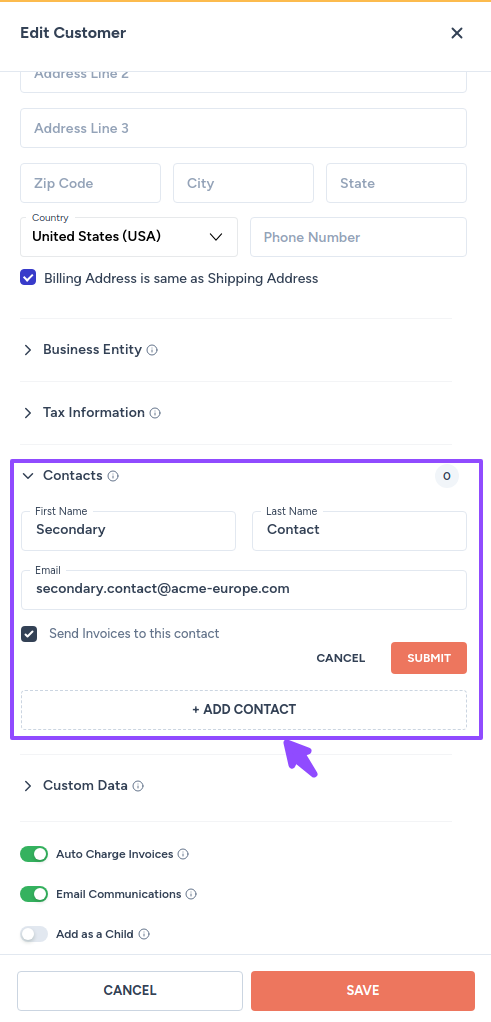
5. On the **Edit Customer** form, fill in the required details.
### Wallet
Credits can be given to a customer for promotional or other purposes. These credits are added to their wallet. Customers can use these credits to reduce their invoice due amount.
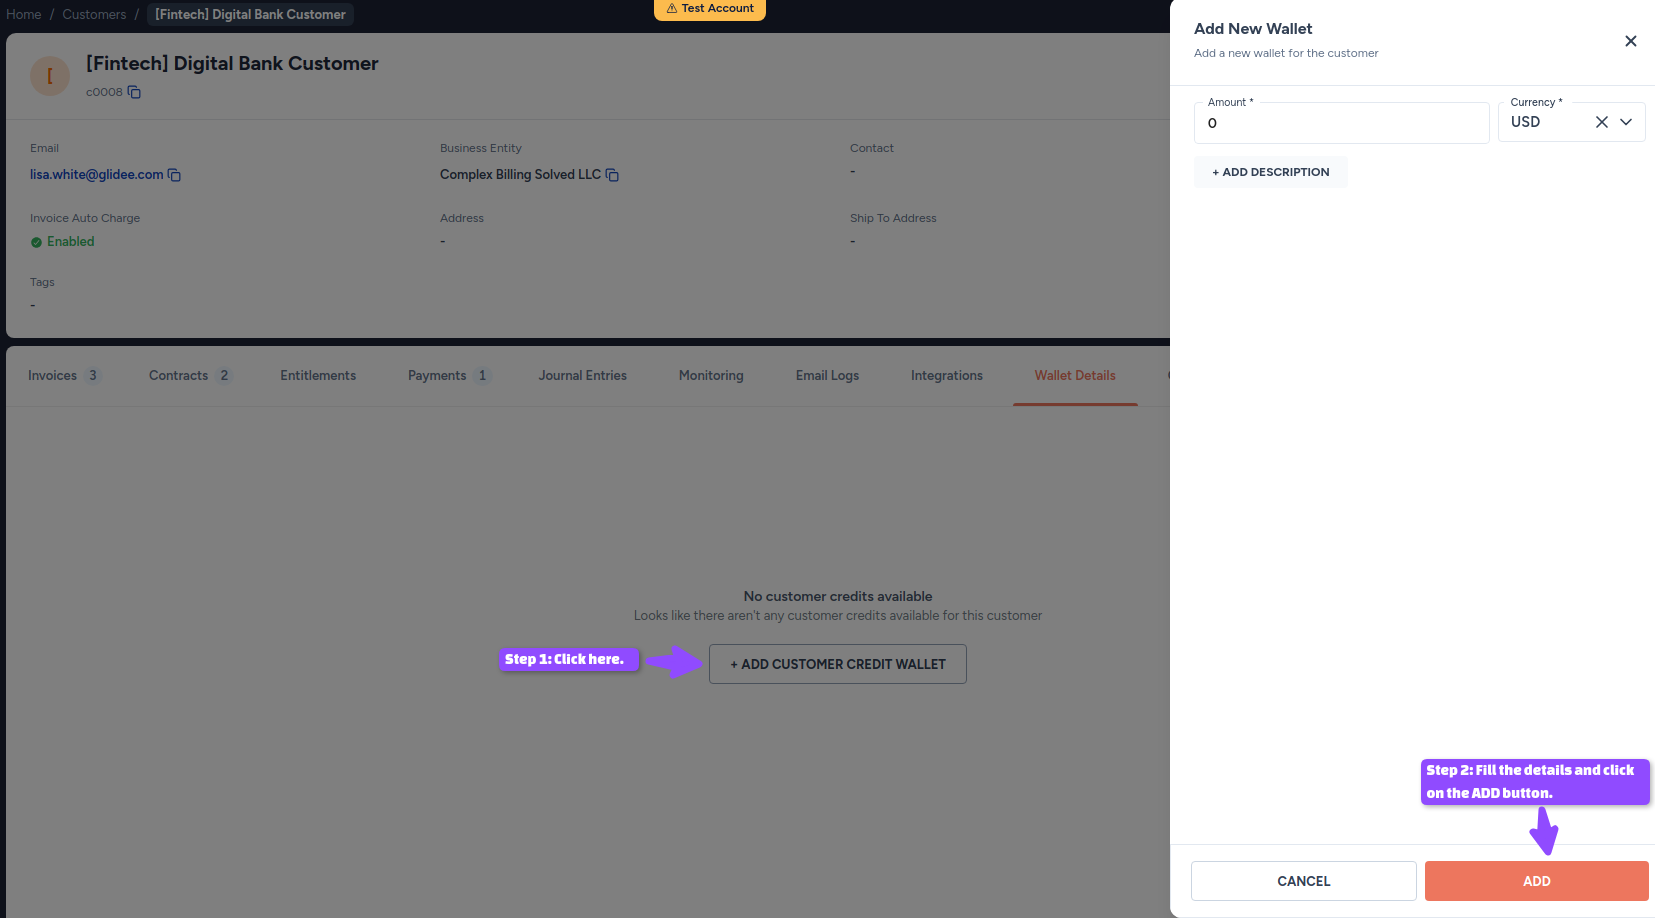
#### Create wallet
1. Navigate to **Customers** in the left side panel.
2. Click on the row containing the customer you are interested in.
3. On the **View Customer**page, move to the **Wallet Details** tab.
4. Click on the **+ADD CUSTOMER CREDIT WALLET** button to reveal the **Add New Wallet** form.
5. Fill in the details, and click on the **ADD** button.
> 🚧 Note
>
> Only one wallet can be added for each currency.
#### Adjust wallet balance
1. Navigate to **Customers** in the left side panel.
2. Click on the row containing the customer you are interested in.
3. On the **View Customer**page, move to the **Wallet Details** tab.
4. Click on the **Adjust** link.
5. Fill in the details in the **Adjust Balance** form, and click **APPLY** button.
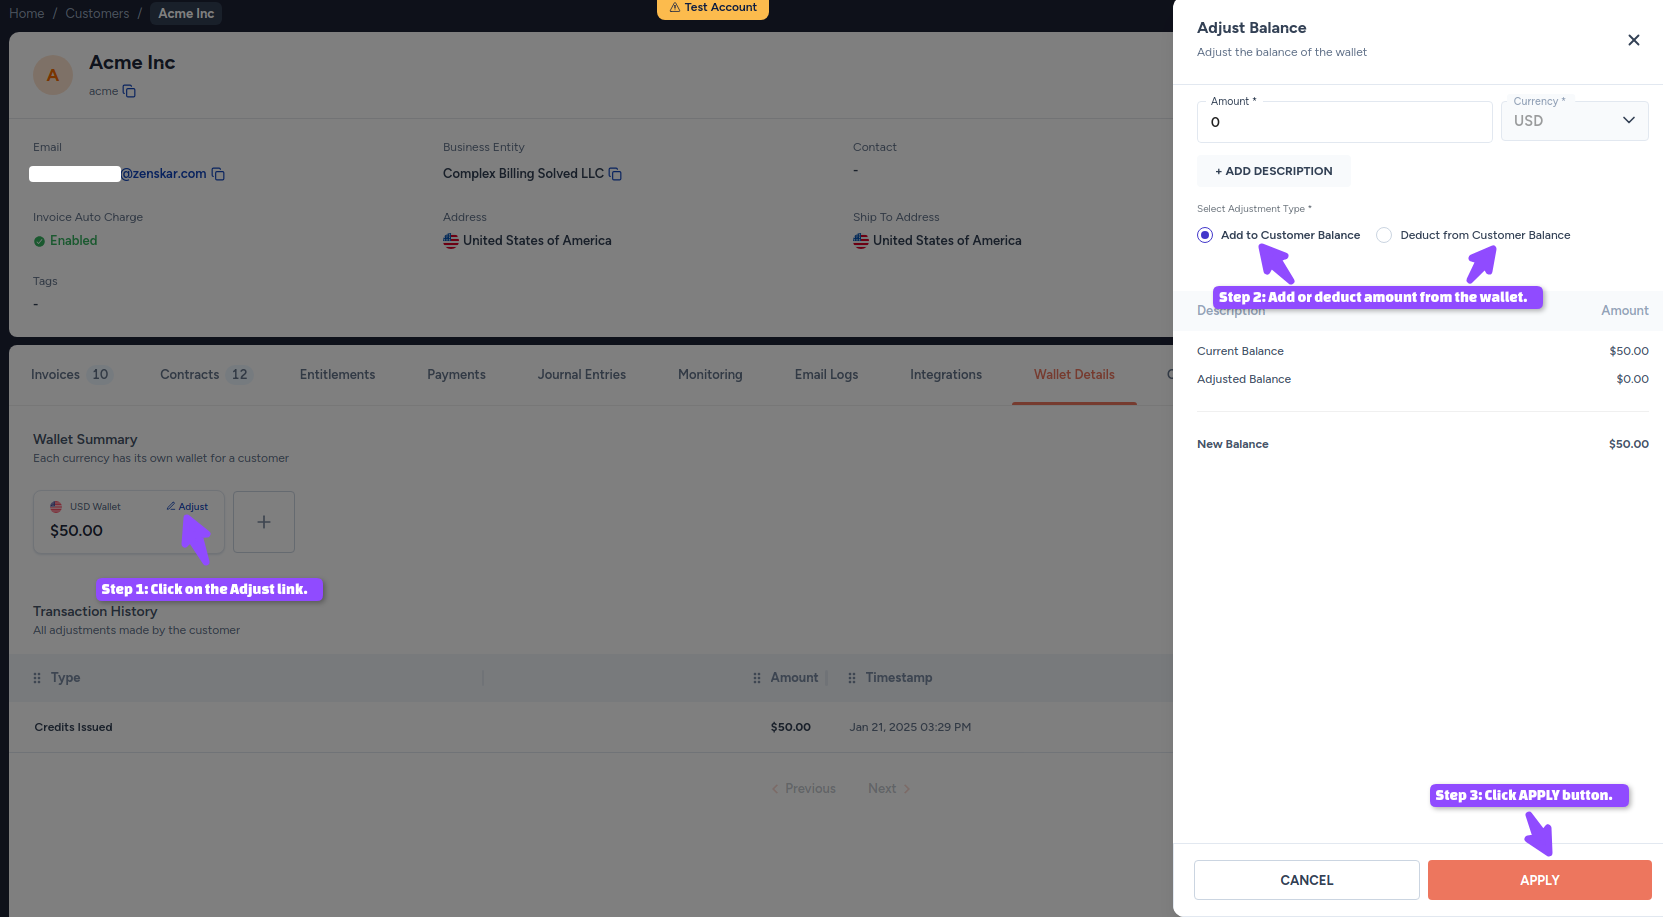
**Add to customer balance**: give customer more credits for promotional or other purposes.
**Deduct from customer balance**: deduct credits for products or services provided or to settle invoice.
### Customer-facing portal
Refer [customer-facing portal documentation](https://www.zenskar.com/docs/customer-facing-portal) for more details.