There are four ways to add a customer in Zenskar:Documentation Index
Fetch the complete documentation index at: https://docs2.zenskar.com/llms.txt
Use this file to discover all available pages before exploring further.
Add a customer manually
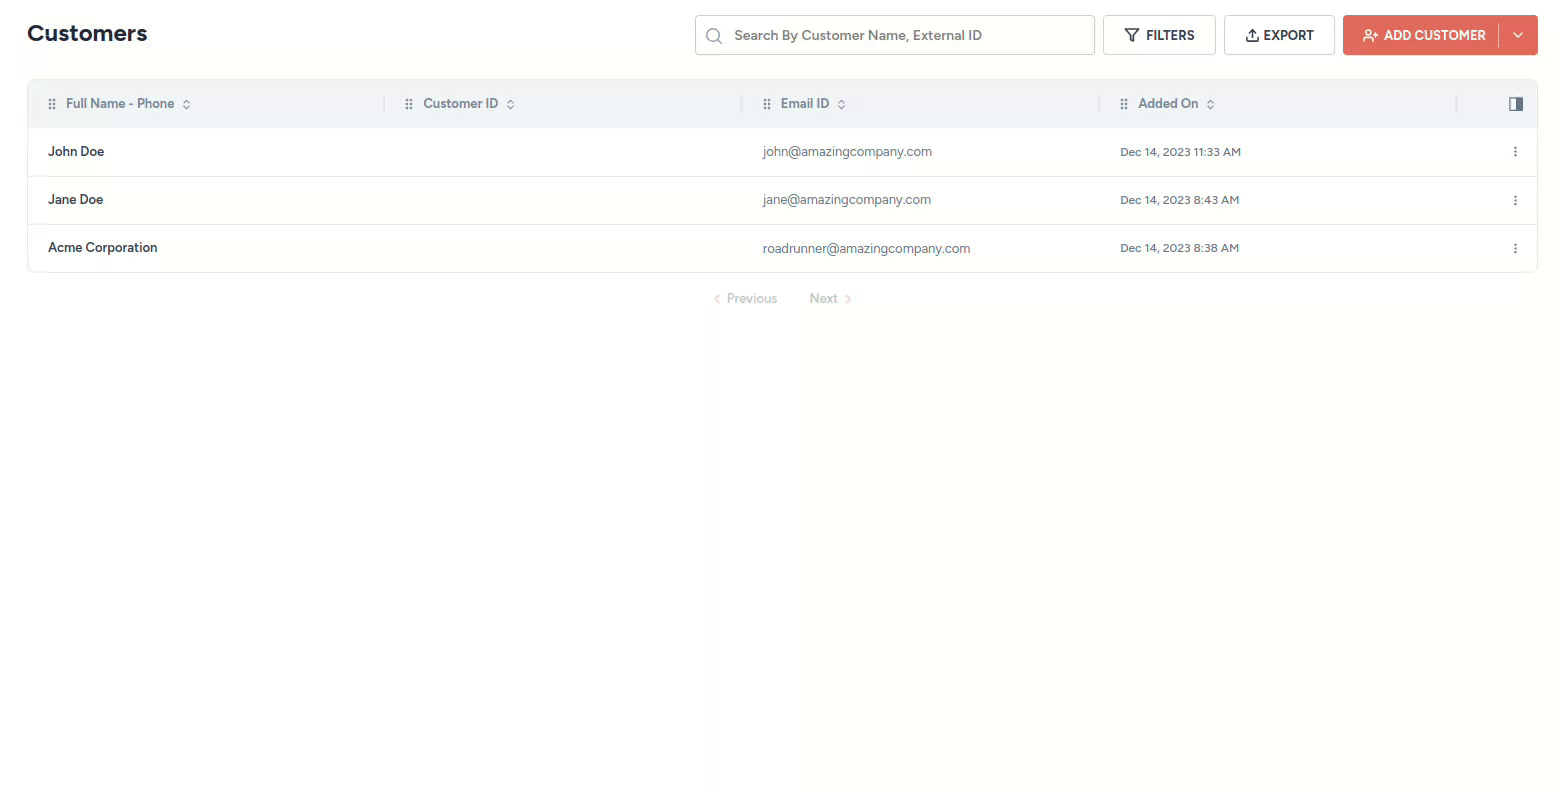
- Navigate to the Customers page and click ADD CUSTOMER.

- Fill in the required fields in the Add Customer form.

Customer information
| Field | Description |
|---|---|
| Name | Full name of the customer. |
| Customer ID | Unique ID for this customer. Use the ID from your CRM or source system to keep records in sync. |
| Primary email address for the customer. |
Billing address
Provide the full address including zip code, city, state, country, and phone number.Business entity
Select the legal entity you set up in Zenskar (under Settings) that will issue invoices to this customer. This cannot be changed after the customer is created.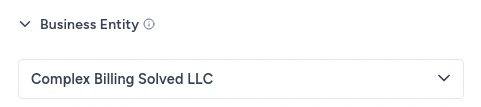
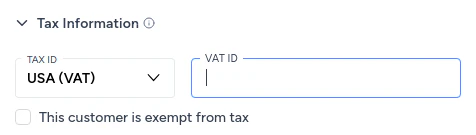
Tax information
Add GST and VAT IDs for the customer’s applicable jurisdictions. These are used for tax calculation and compliance.| Jurisdiction | Tax type |
|---|---|
| India | IND (GST) |
| USA | USA (VAT) |
| Australia | AUS (GST) |
| European Union | EU (VAT) |
| Singapore | SG (VAT) |
| France | FR (VAT) |
Custom data
Add arbitrary JSON metadata to the customer record. This metadata can be referenced when creating custom aggregate queries for usage-based billing.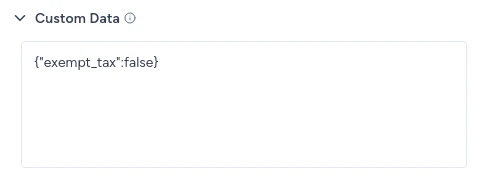
Auto charge invoices
Enable this to automatically charge the customer’s payment method when an invoice is due.
Email communications
Enable this to allow your senders to send emails to this customer.
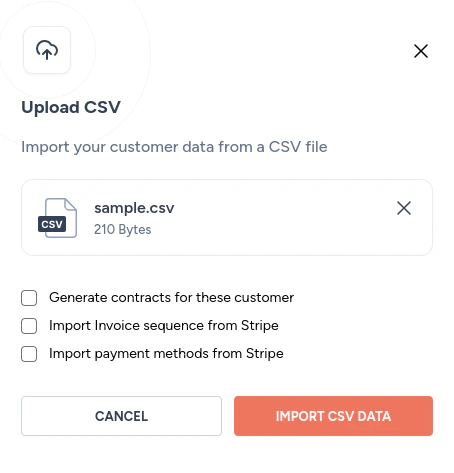
Add customers by CSV
You can add a single customer or multiple customers in bulk by uploading a Zenskar-compatible CSV file.- Navigate to the Customers page and click the down arrow on the + ADD CUSTOMER button.
- Click Upload CSV.
- In the Upload CSV dialog, use the Click to upload or drag and drop card to upload your CSV file.
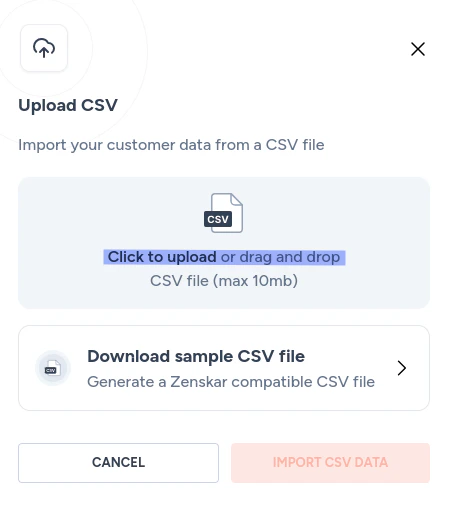
- Click IMPORT CSV DATA.
Getting the sample CSV
Click Download sample CSV file in the Upload CSV dialog to get a Zenskar-compatible template.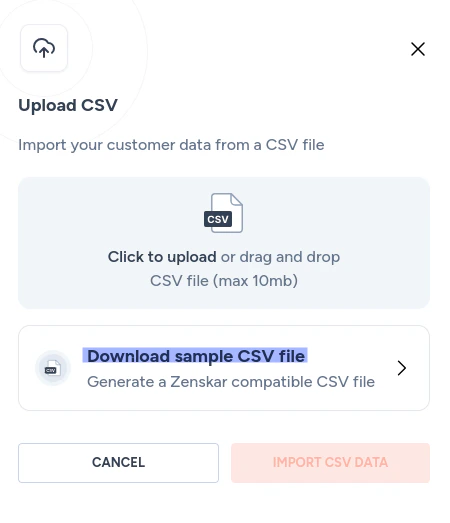

Add a customer via the API
Use the Create Customer API to add customers programmatically.Add a customer via a connector
Zenskar connectors enable two-way sync with CRM, CPQ, and ERP systems. Once a connector is configured, customers from the external system are synced automatically.- Navigate to Integrations to view available connectors.
- Follow the documentation for your specific integration to establish a connection.
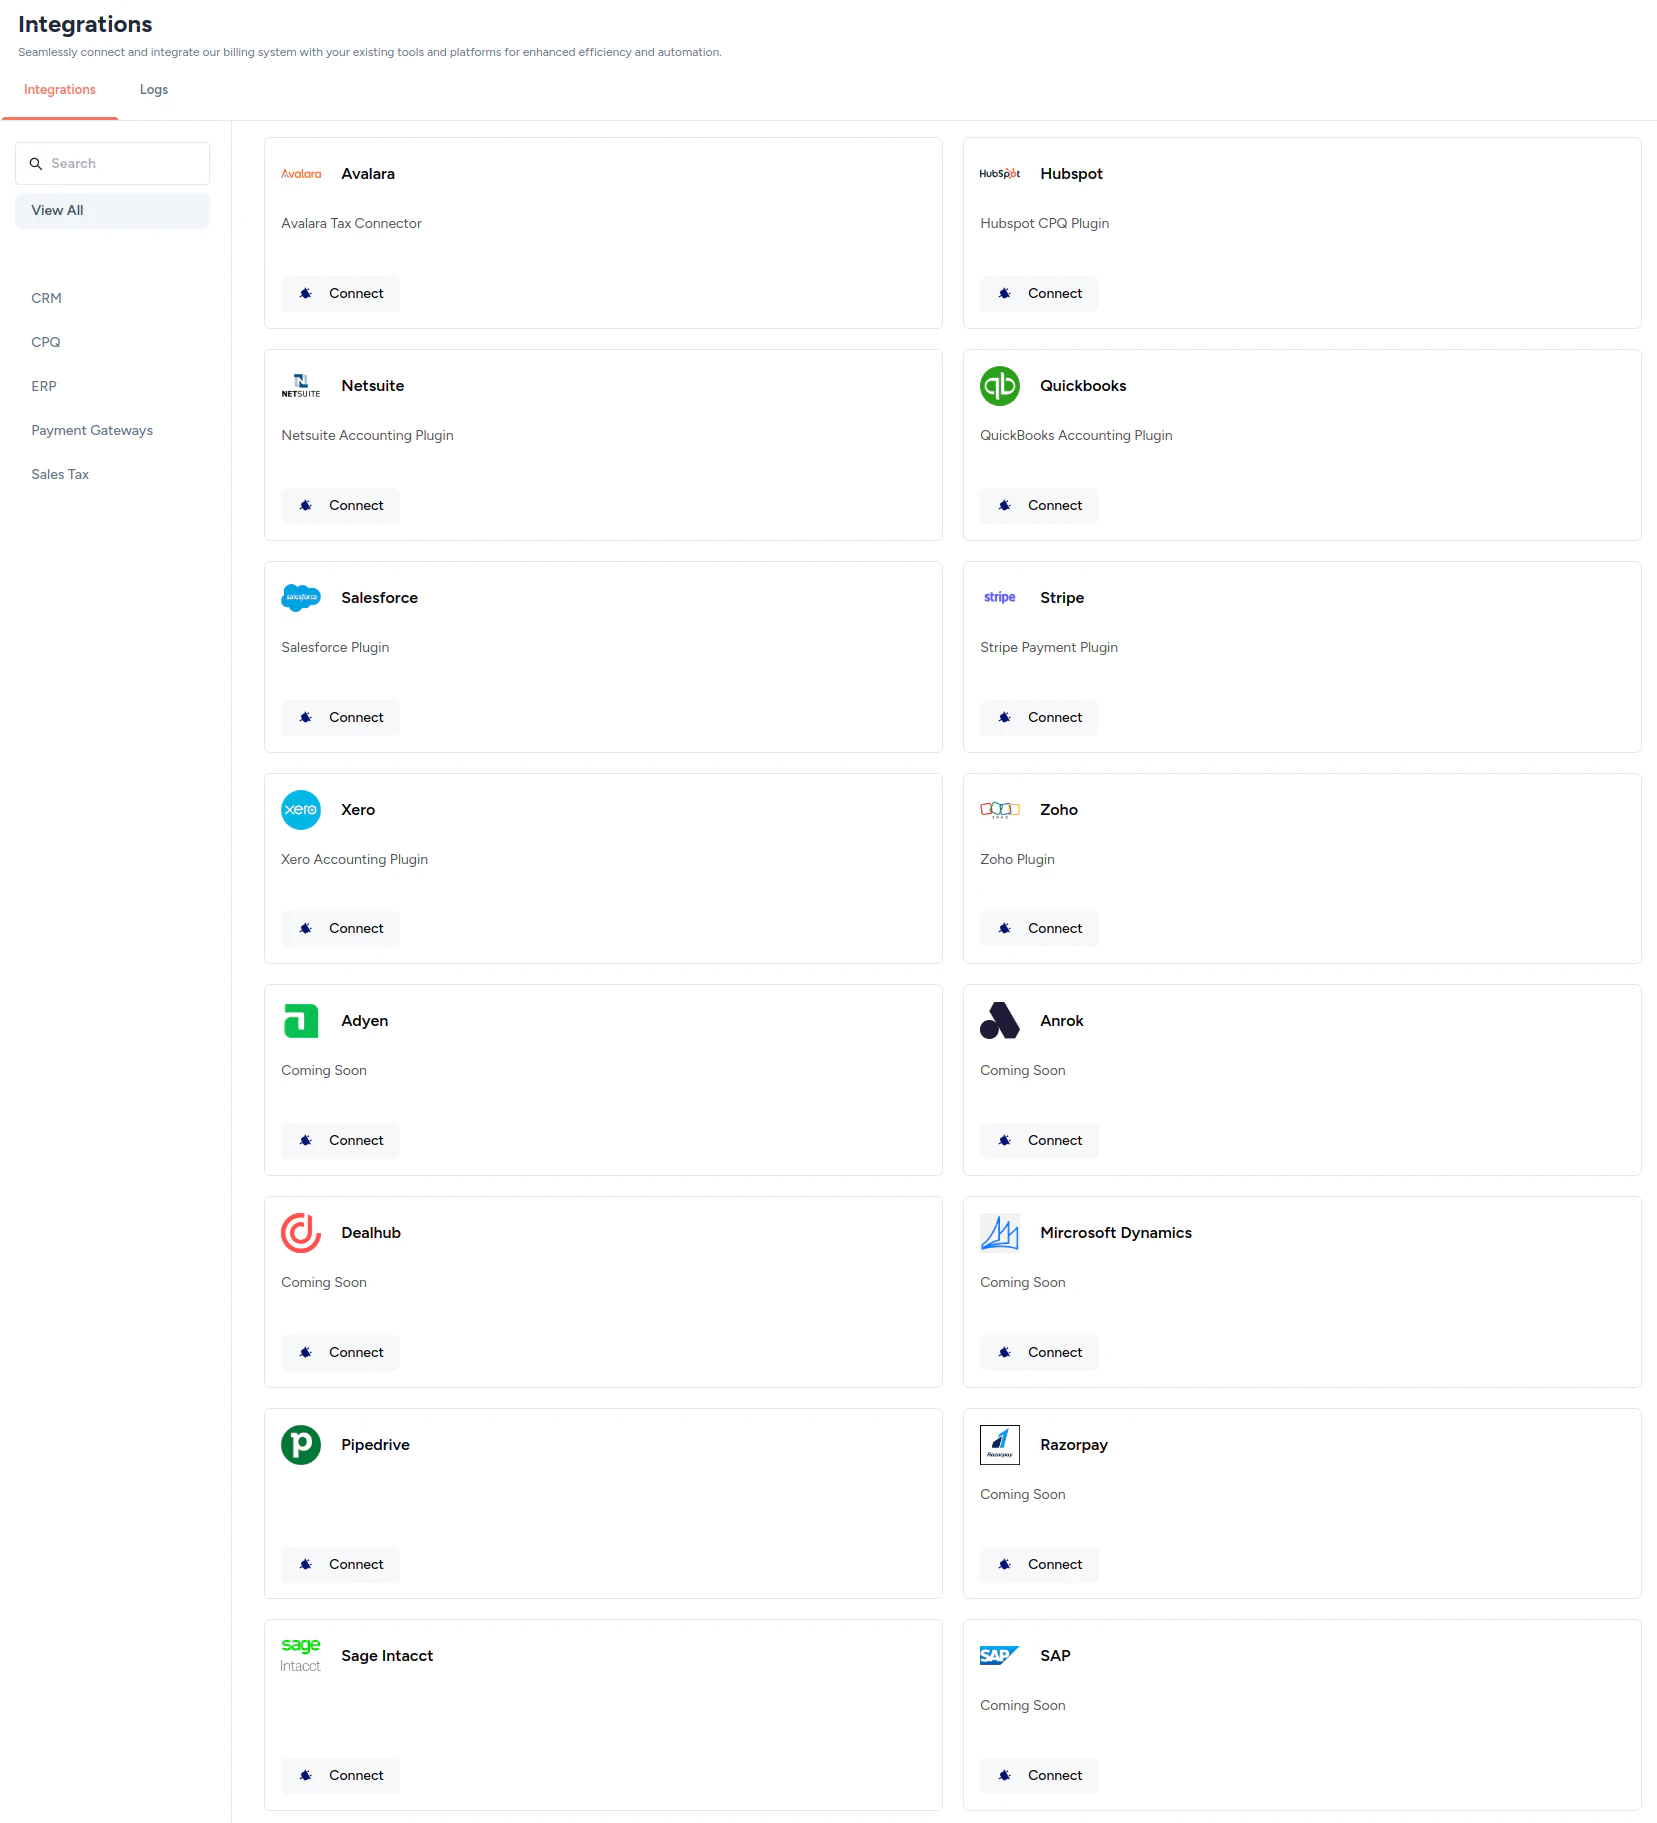
If you don’t see the connector you need, contact support@zenskar.com to request a new connector.